Getting started with cookies like a professional requires a shift in mindset from casual baking to precise craftsmanship.
Whether you are dreaming of launching a micro-bakery from your home in Maryville or simply want to elevate your weekend baking to a professional standard, the humble cookie is the perfect starting point. However, getting started with cookies that meet bakery-quality standards requires more than just a recipe; it requires an understanding of food science.
While cookies are often seen as “entry-level,” achieving a consistent, bakery-quality result requires more than just following a recipe—it requires understanding the variables at play.

1. Technical Fundamentals for Getting Started with Cookies
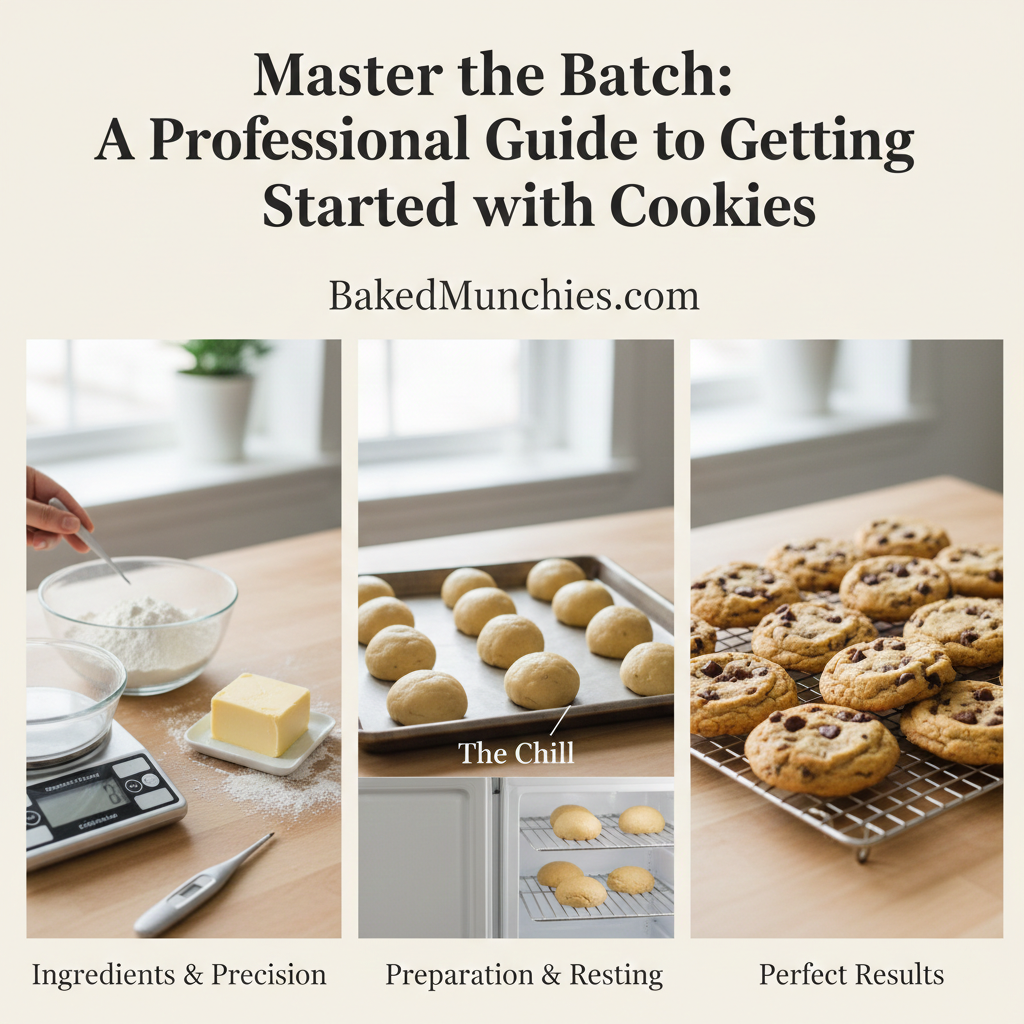
Before you cream your first bit of butter, ensure your kit is up to professional standards. High-end results for anyone getting started with cookies depend on accurate tools and a standardized environment.

Essential Equipment for Getting Started with Cookies
- Digital Kitchen Scale: When getting started with cookies, volume measurements are notoriously unreliable. For professional consistency, you must weigh ingredients in grams.
- A Solid Internal Thermometer: Never trust your oven’s built-in dial. Verify that your oven reaches exactly 350°F (177°C), which is a non-negotiable step for getting started with cookies at scale.
- Heavy-Duty Baking Sheets: Thin pans warp and hot-spot. Invest in rimmed aluminum half-sheets for even heat distribution.
2. Understanding Ingredient Science When Getting Started with Cookies
Every ingredient in a cookie serves a structural or chemical purpose.

- Butter Temperature: For the classic “creaming method,” your butter should be cool room temperature (about 65°F (18°C)). If it’s too soft, your cookies will spread into puddles; too cold, and you won’t incorporate the air needed for leavening.
- Sugar Ratios: White sugar provides crispness and encourages spread, while brown sugar adds moisture and chew due to the molasses content.
- Flour Protein: Most professional cookies use All-Purpose flour, but the protein content can vary by brand. A higher protein count leads to a heartier, chewier bite.
3. The Secret to Professional Texture: The Chill

If you want that iconic “bakery ripple” and a deep, developed flavor, you must chill your dough. Resting the dough for 24 to 72 hours allows the flour to fully hydrate and the fats to solidify. This results in:
- Controlled Spread: The cold fat takes longer to melt in the oven.
- Enhanced Flavor: Enzymes break down the starches into simple sugars, leading to better browning (the Maillard reaction).
For a deep dive into the molecular changes that occur during a 24-hour rest, King Arthur Baking offers an excellent breakdown of why chilling dough is a non-negotiable step for professionals.
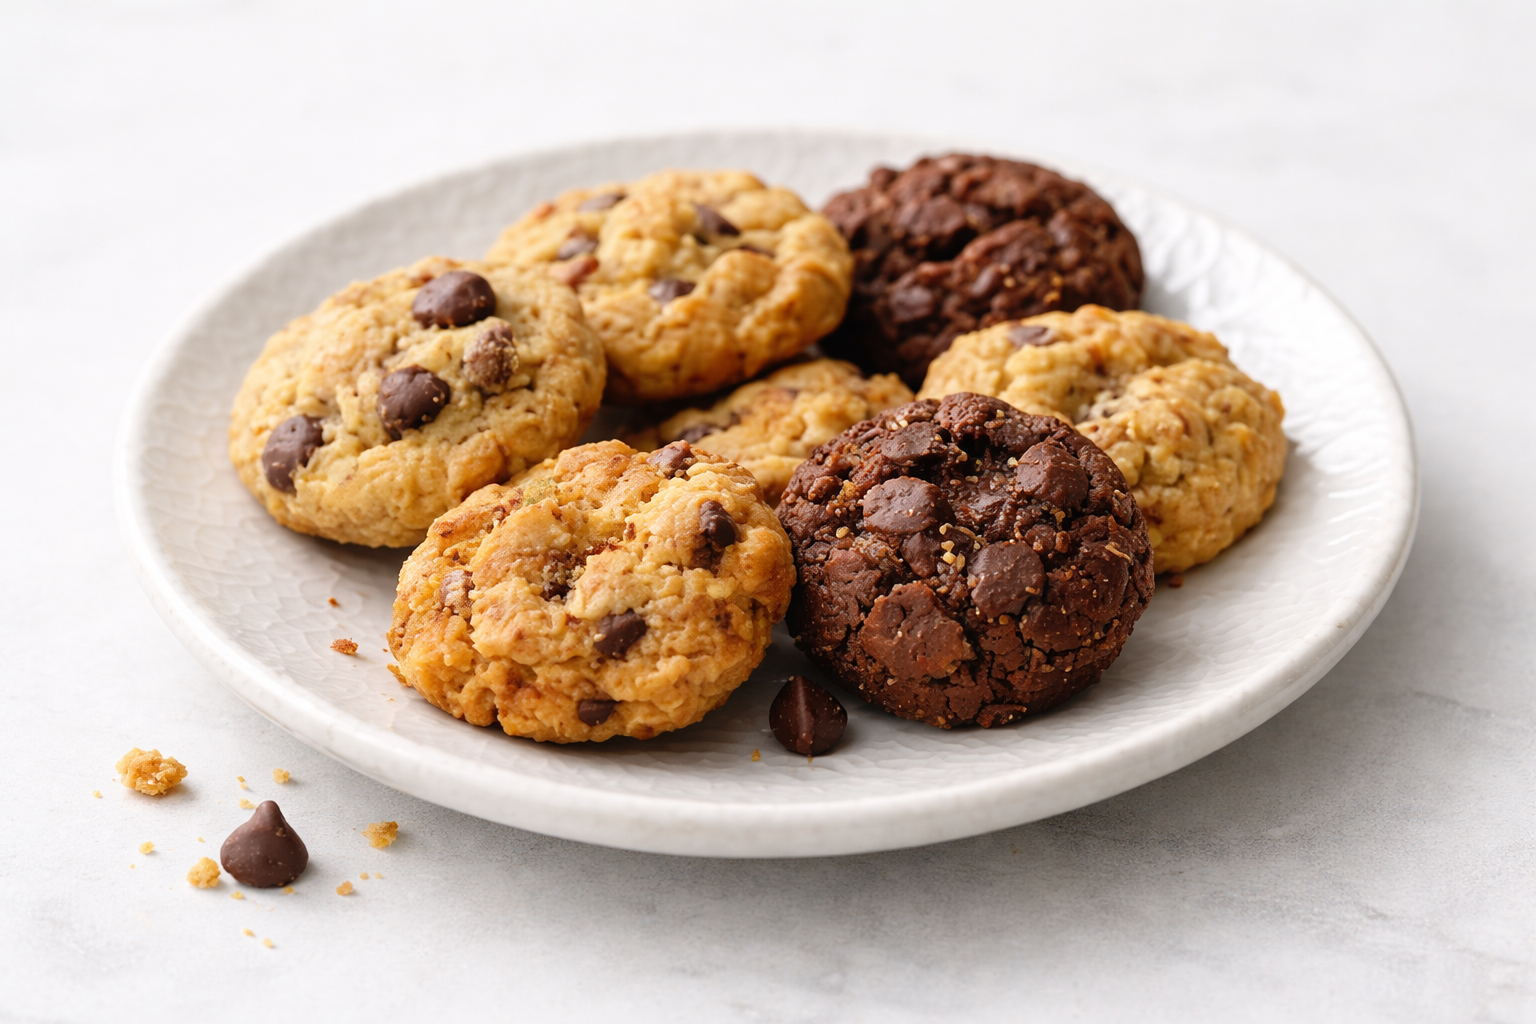
4. Precision Portioning

Consistency is key when selling baked goods. Customers expect every cookie to be identical in size and bake. Use a spring-loaded cookie scoop to ensure every portion is exactly the same weight. This isn’t just about aesthetics—it ensures that every cookie on the tray finishes baking at the exact same second.
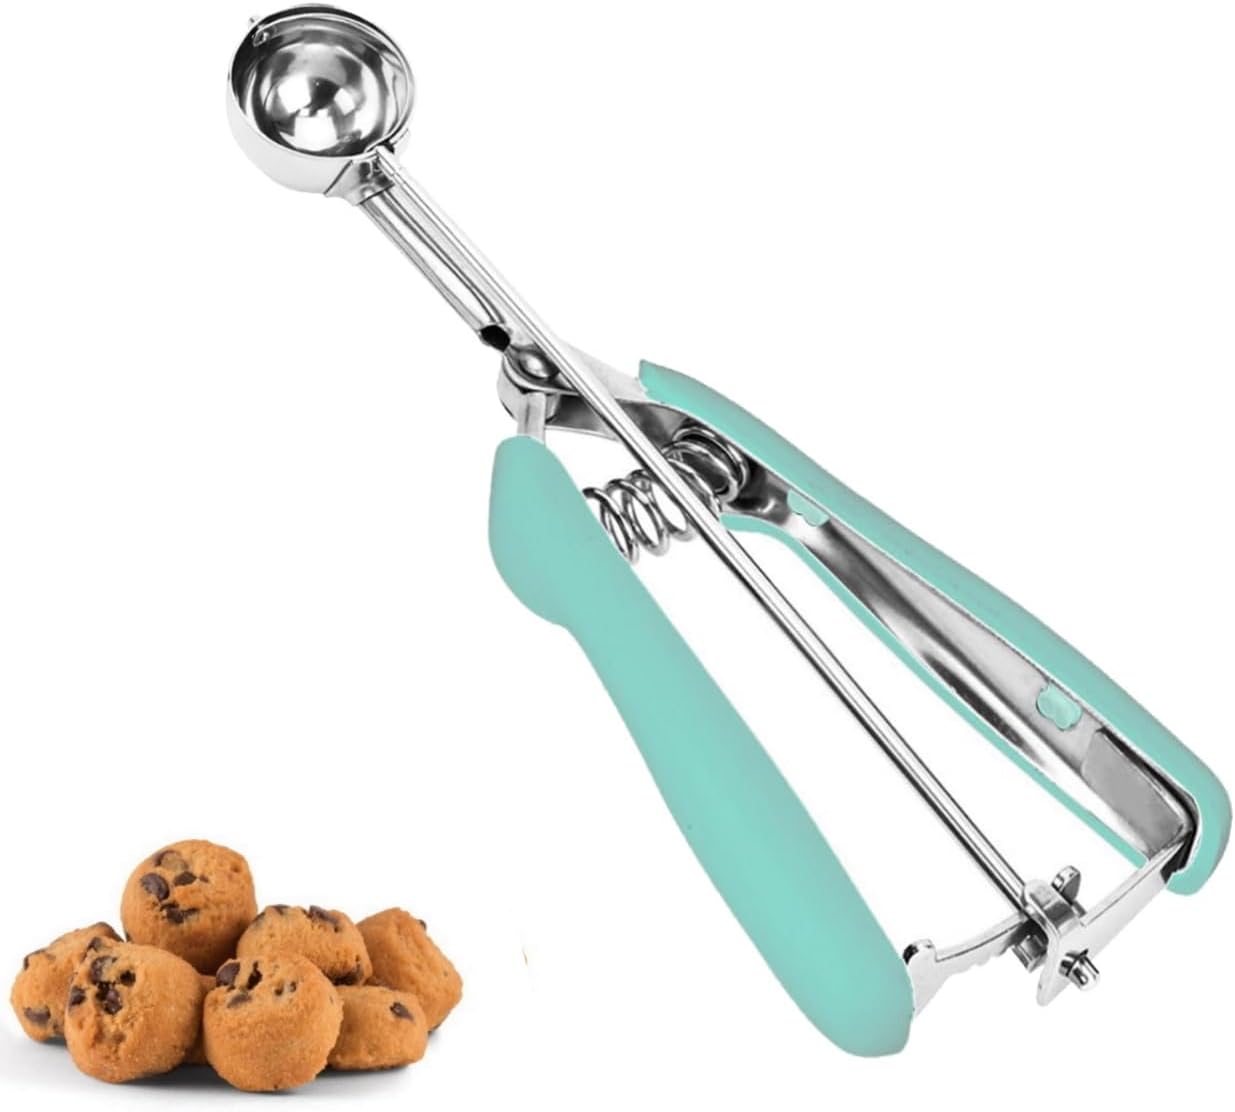
1 tsp Extra Mini Cookie Scoop
- The non-slip rubber handle makes it easy to grasp.
- Just a simple squeeze makes the cookie scoop release the dough easily and neatly
Baked Munchies earns a small commission on these links at no cost to you.

From Kitchen to Craft: Scaling Your Success
Mastering the art of the cookie is a journey that moves from following a simple recipe to understanding the intricate dance of food science. By focusing on the technical pillars of precision measurement, specific temperature control—aiming for that perfect 65°F (18°C) butter—and the disciplined patience of a 24-hour chill, you elevate your baking from a casual hobby to a professional craft.
These small, intentional adjustments are what create a consistent, high-quality product that stands out in a competitive market. As you continue to refine your workflow and experiment with these foundational techniques, you’ll find that the “perfect batch” isn’t a matter of luck, but a result of professional standards.
Kitchen Tools I Use


Baked Munchies earns a small commission on these links at no cost to you.